
This is the second post in my Containerizing NServiceBus Endpoints with Docker Series
Part 1: Introduction/Readying your System/Local Azure Resources
Part 2: Live Azure Resources
Part 3: Dockerize!
Part 4: Docker Compose
Part 5: Containerizing Sql Server and switching to Sql Persistence
In Part 1 you readied your system, downloaded the source code, ran the solution using local Azure storage and learned a bit about how those Azure resources tie back to the code.
The next step is to use your live Azure account to set up a new Resource Group and Storage Account. From there, we'll trade out the current UseDevelopmentStorage=true connection strings for real connection strings, then run the solution against Azure.
Microsoft Azure Setup
Choose to set up the Azure resources via the Azure CLI or the Azure Portal
Create New Azure Resource Group and Storage Account using the Azure CLI
If you haven't used the Azure CLI before, it's probably best to follow the instructions for setting up the Azure Resource Group and Storage Account using the Azure Portal
For those of you familiar with the Azure CLI, you can execute the CreateAzureResources.ps1 script once logged into your Azure account to create the Resource Group and Storage Account you need.
.\CreateAzureResources.ps1 -resourceGroupName "[RESOURCEGROUPNAME]" -storageAccountName "[STORAGEACCOUNTNAME]" -location "[LOCATION]"
replacing [RESOURCEGROUPNAME], [STORAGEACCOUNTNAME] and [LOCATION] with the values you want to use.
When the script is done running, you should see the connection string output to the console. Copy and paste the connection string into the connectionString variable in both the Global.asax and EndpointConfig.cs file
Create New Azure Resource Group and Storage Account using the Azure Portal
Go to the Azure portal, click on "Create Resource", do a search for "Resource Group" and click on the Create button. You should see a screen that looks like this:
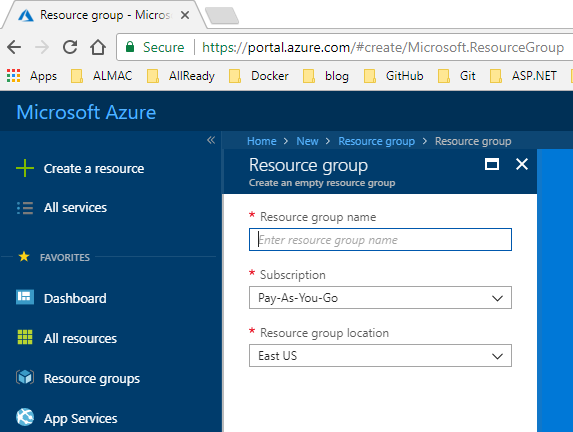
Name the resource group, choose a Resource group location as close to your location as possible and click the Create button.
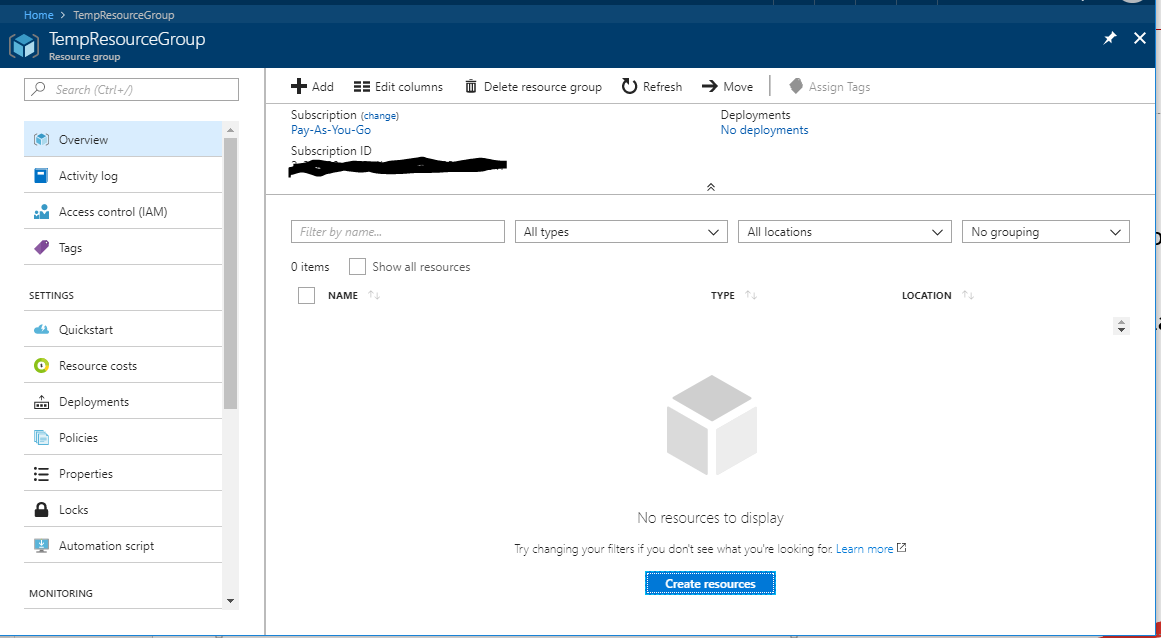
Navigate to your newly created resource group and click the Create Resources button.
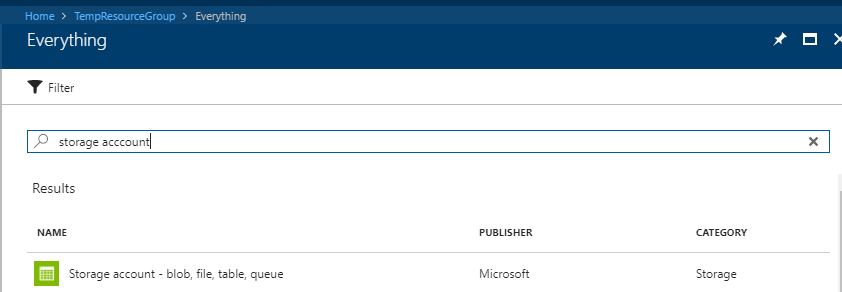
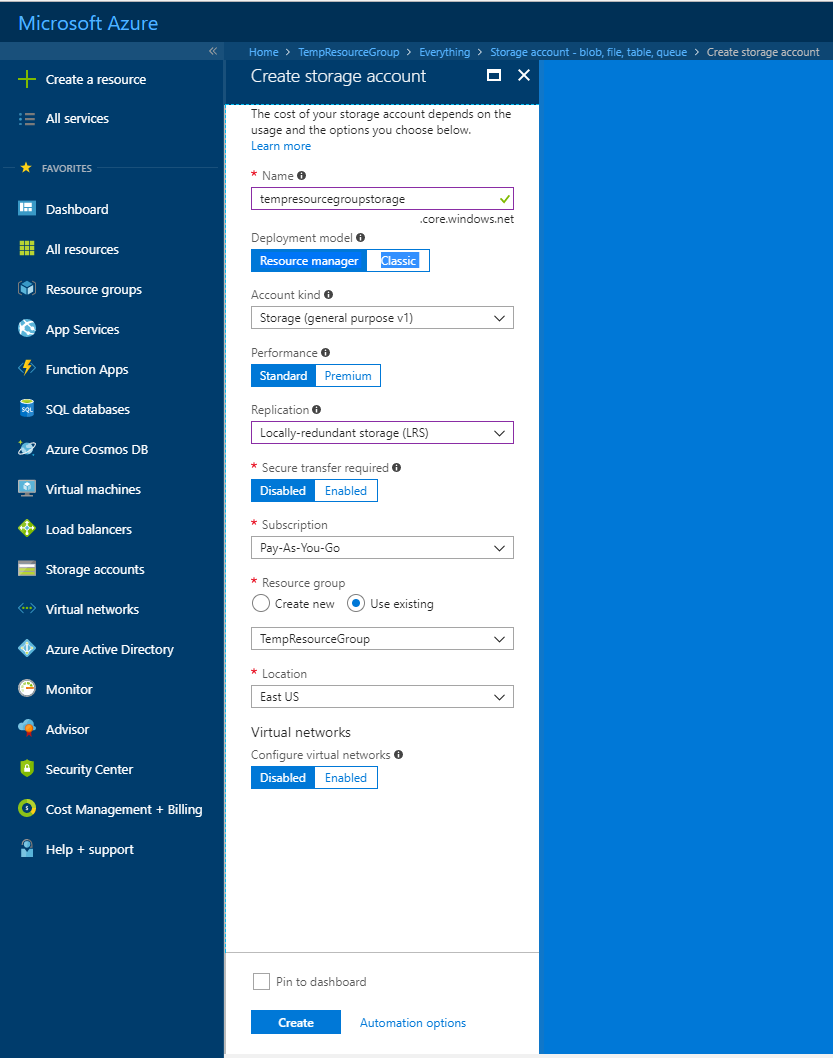
Do a search for "storage account", pick "Storage account - blob, file, table, queue" and hit the Create button
Name your storage account (it needs to be unique within the .core.windows.net domain) and choose these options:
- Location should be as close to your location as possible
- choose "Use Existing" for the Resource group option and choose the Resource Group you created in the previous step
the rest of the options can be left as-is. When you're done, hit the Create button.
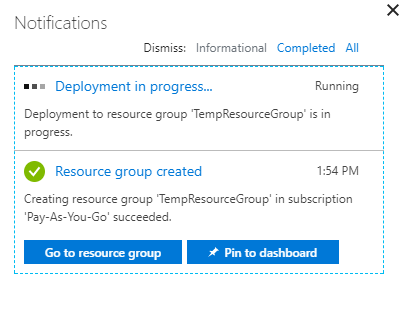
Azure will let you know when your storage account is done deploying.
Get a Connection String From Your Storage Account
Now that your storage account has been created, you're going to need a connection string to drop into the solution file. Find your newly created storage account and click on it. You'll be brought to your storage account page:
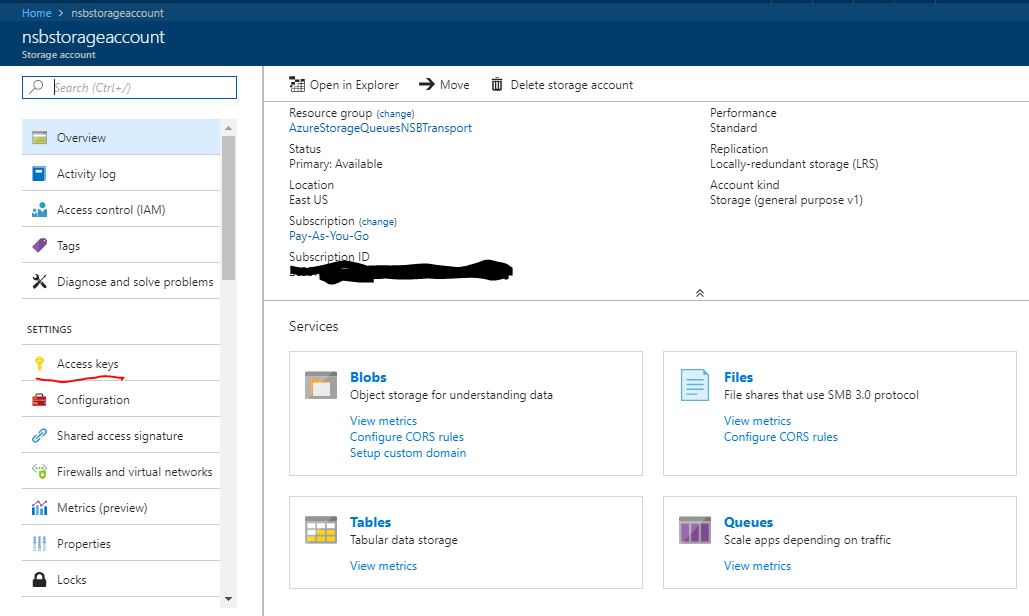
once there, click on "Access Keys". You'll be brought to the Access keys page:
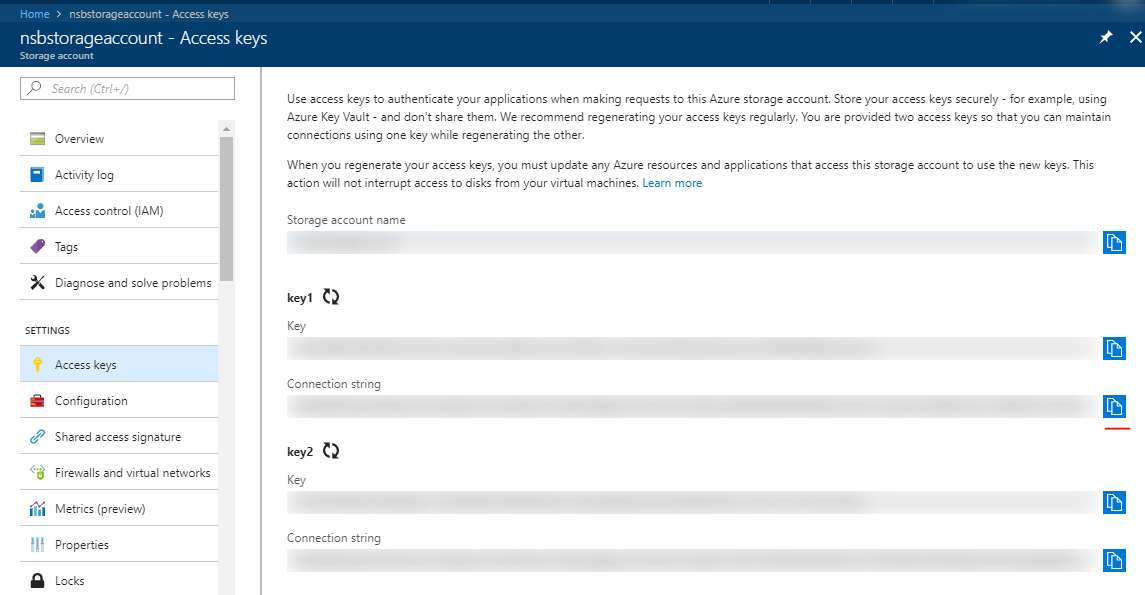
I use a Chrome extension called Azure Mask which conceals sensitive information when browsing the Azure Portal
Click on the copy icon for either connection string to copy it to your clipboard.
Back in the solution, paste the copied connection string into the const connectionString variable in in the Global.asax file in ClientMVC project and EndpointConfig.cs file in the ClientMVC.Handlers project

Run the Solution
With the connection strings updated in both the ClientMVC and ClientMVC.Handlers projects, hit "F5" and the solution should run as it did before, but this time, NServiceBus will be utilizing the Azure resources you just created via the portal for its transport and persistence needs.
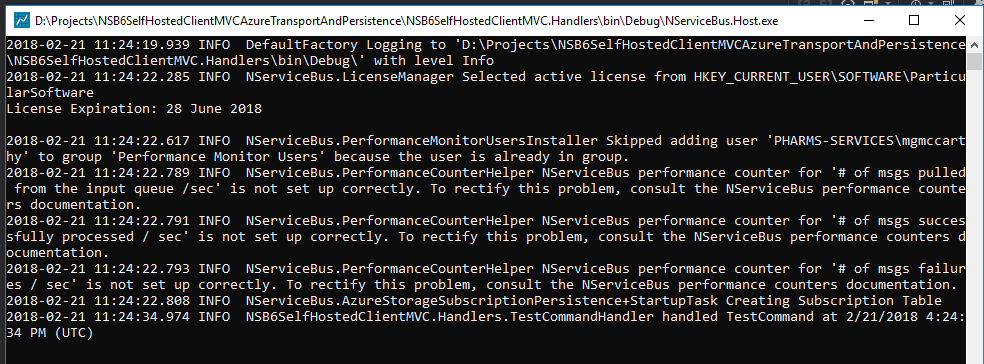
Check the NServiceBus Console window to see verify the "TestCommandHandler handled Test Command" has been logged:
Open up Azure Storage Explorer again, but this time, instead of navigating to:
"(Local and Attached) -> Storage Accounts -> Development"
Log into your Azure account, find your subscription, and navigate to the storage account you created.
You should see the same exact Queues, Tables and Blobs created on your live Azure storage account that you saw created when running locally using the emulator.

So far, we've been concentrating on setting up Azure (both locally with the emulator as well as on the portal) for our NServiceBus transport and persistence needs in order to familiarize yourself with the solution and the Azure resources created by NServiceBus.
Now that most of the "plumbing" is taken care of, in Part 3, we'll "Dockerize" the solution.