

Originally published for Afterman Software
Posts in this Series:
- Part 1: Endpoint Implementation
- Part 2: Deploy with Visual Studio Publish
- Part 3: Pulling Back the Curtain on Visual Studio Publish
- Part 4: Build and Deploy with Azure DevOps (this post)
In Part 3, we pulled back the curtain on Visual Studio Publish to gain insight into what it was doing in order to deploy our NServiceBus endpoint to Azure. Using that newfound knowledge, we'll be "graduating" from right-click/Publish to Azure DevOps.
We'll start with changes we need to make to the project as well as to the Azure resources configuration. After that, we'll move onto building an Azure DevOps pipeline and finally, deploy the endpoint to our app service.
Getting the Code
You can get the code for Part 4 here. If you choose to follow along with this post and do project changes yourself, then getting the code for Part 2 should be the place you start. If choose to get the code, then all the items in the "Project Changes" section as well as changes to the YAML in the "Adding the Service Connection to the YAML" section will already been finished.
Either way, you'll still need to set up the Azure DevOps pipeline covered later in this blog post.
Project Changes
Add run.cmd
In Part 3, we discovered that Visual Studio Publish added a run.cmd file to our WebJob path at the point of deployment. Since we're not using Visual Studio Publish anymore, we need to add run.cmd to our project by hand.
Right-click in your solution and choose Add -> New item and name it run.cmd. Add the following contents and save the file
dotnet NSBEndpointInWebJob.dll
WARNING: If you're using Visual Studio to add the run.cmd file, file encoding matters. Visual Studio creates files encoded as "UTF-8 BOM", which when deployed to the app service, will throw an exception when the Kudu engine uses the contents of the run.cmd file to try to start the WebJob. Make sure you change the encoding of the run.cmd file to "UTF-8" from "UTF-8 BOM" in a text editor like Notepad++.
Add Project to Source Control
Before we start building the pipeline, we're going to need to put our code somewhere that Azure DevOps can get to it. The easiest place is GitHub. I'd suggest either
- forking a copy from the Part 4 branch
or
- downloading Part 4 as a .zip file, creating your own local Git repository and then pushing it to a new remote GitHub repository.
Either way, the important part is Azure DevOps can get access to the code.
Azure DevOps
This section is quite lengthy, as there is a lot of work to do in Azure DevOps to set up a build and deployment pipeline for our NServiceBus endpoint.
- I assume that you don't have an Azure DevOps account, and if you do, that you don't have an organization or project(s) created.
- I'm also assuming that you don't have experience with creating a pipeline using either the Classic editor or using YAML.
That being said, where I'm showing how to set these things up, and you already have an understanding, feel free to "fast-forward" through the content or skip the section entirely.
Create an Organization, Project and Connect to Source Control
If you haven't already, open a free Azure DevOps account. If you're opening a new Azure DevOps account, an Organization is created based on the account you use to sign in. If you have an existing account, you can use an existing Organization or create a new one.
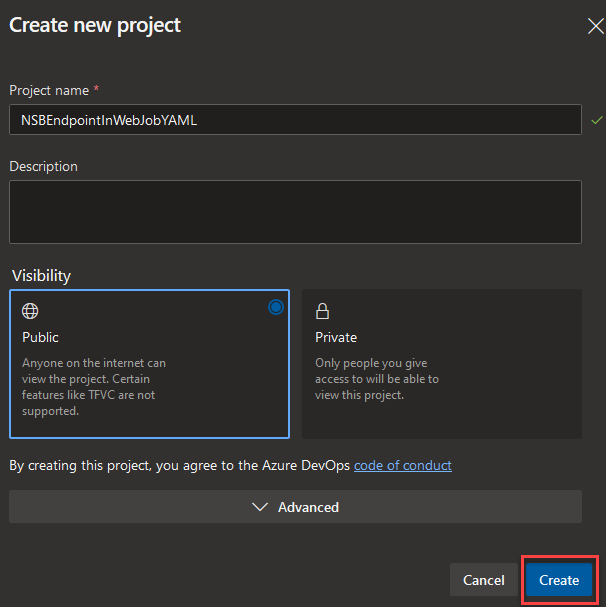
Once you've created an Organization, the next step is to create a Project

Create a Project with the following values
When the project is done being created, click on the Pipelines button at the bottom of the screen
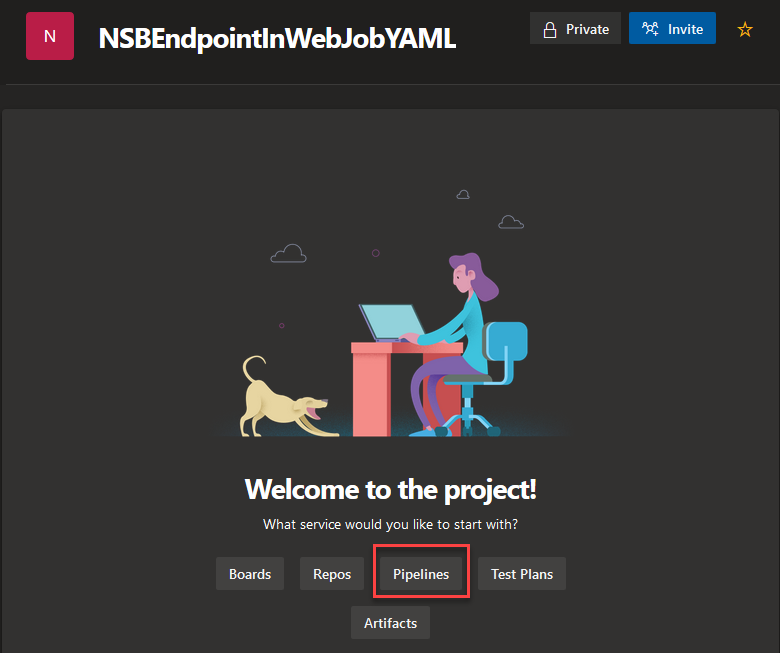
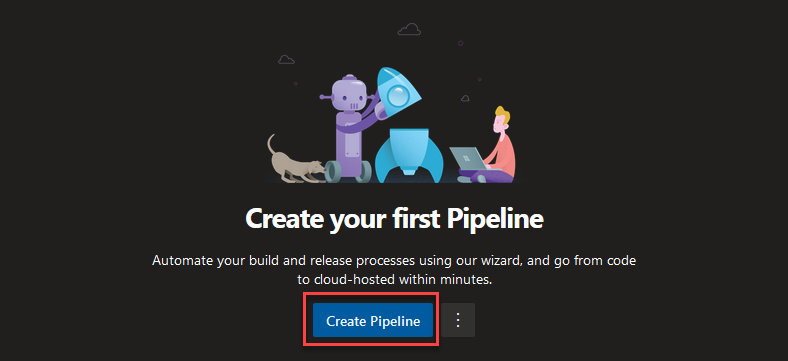
Then click Create Pipeline
The first step in building a pipeline is letting Azure DevOps know where your code is. Click on GitHub

If you just opened a new Azure DevOps account or if you had an existing account with no pipeline authorization configured, you'll be redirected to a screen that looks like this
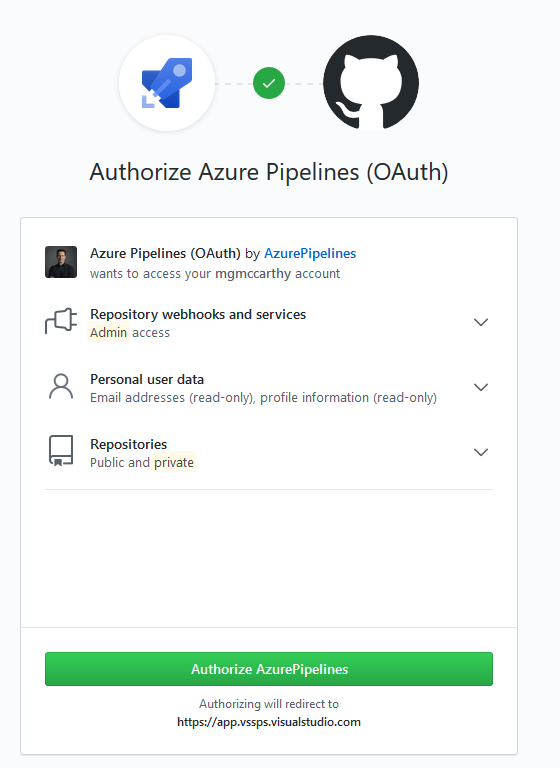
Expanding the Repositories section, you'll see that Azure DevOps wants both read AND write access to your repositories on GitHub.
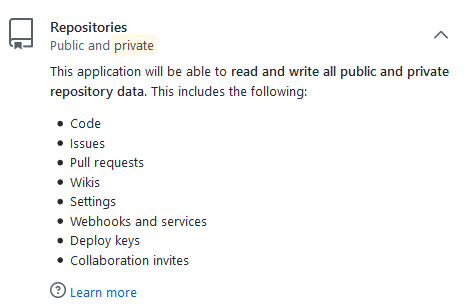
Why would Azure DevOps need write access when all it should really need is read access to pull the code from your repository into the pipeline? Because in the next step, you'll be building out your pipeline using YAML. Azure DevOps does not store the YAML, your repository does. That way, the YAML becomes a version-tracked file with the rest of your code.
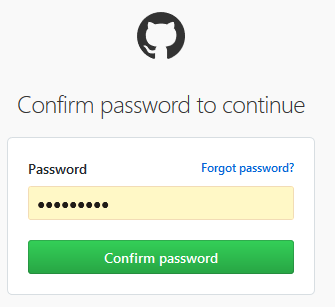
Click the Authorize AzurePipelines button. You'll be prompted to enter your GitHub password to continue
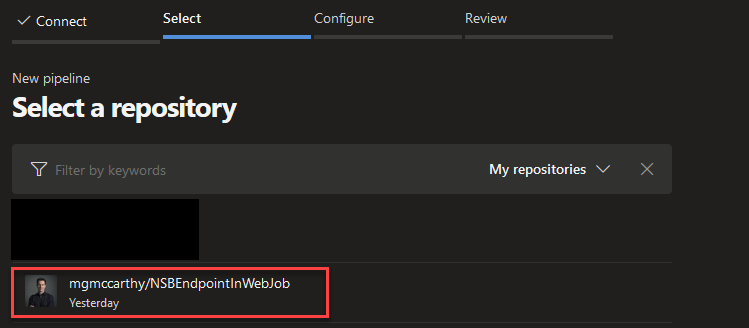
You will then be redirected back to the Select step of the new pipeline workflow you started earlier.
Select the name of your repository where the Part 4 code lives. For me, it's the NSBEndpointinWebJob repository
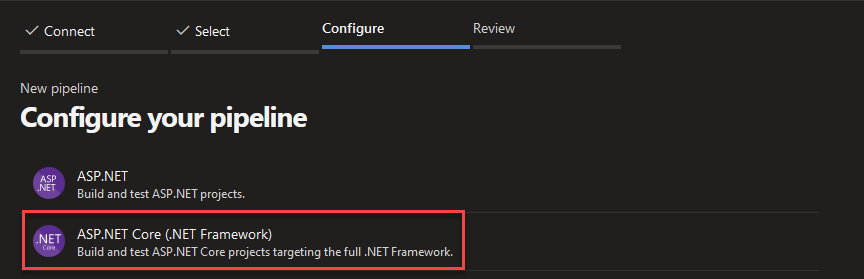
Next, you'll be prompted to Configure your repository. Pick the ASP.NET Core (.NET Framework) option.
In the Review step, delete the template-generated YAML, and replace it with this:
pool:
  name: Azure Pipelines
  vmImage: 'windows-2019'

variables:
  BuildConfiguration: 'Release'

steps:
- task: DotNetCoreCLI@2
  displayName: Restore
  inputs:
    command: restore
    projects: '**/NSBEndpointInWebJob.csproj'

- task: DotNetCoreCLI@2
  displayName: Build
  inputs:
    projects: '**/NSBEndpointInWebJob.csproj'
    arguments: '--configuration $(BuildConfiguration)'

- task: DotNetCoreCLI@2
  displayName: Publish
  inputs:
    command: publish
    publishWebProjects: false
    projects: '**/NSBEndpointInWebJob.csproj'
    arguments: '--configuration $(BuildConfiguration) --output $(build.artifactstagingdirectory)\WebJob\App_Data\jobs\continuous\NSBEndpointInWebJob'
    zipAfterPublish: false
    modifyOutputPath: false

- task: PublishBuildArtifacts@1
  displayName: 'Publish Artifact: drop'

- task: AzureAppServiceManage@0
  displayName: 'Stop NSBEndpointInWebJob'
  inputs:
    ConnectedServiceName: 'NSBEndpointInWebJob'
    Action: 'Stop Azure App Service'
    WebAppName: NSBEndpointInWebJob

- task: AzureRmWebAppDeployment@4
  displayName: 'Azure App Service Deploy: NSBEndpointInWebJob'
  inputs:
    ConnectedServiceName: 'NSBEndpointInWebJob'
    WebAppName: NSBEndpointInWebJob
    packageForLinux: '$(Build.ArtifactStagingDirectory)\WebJob'
    enableCustomDeployment: true
    ExcludeFilesFromAppDataFlag: false

- task: AzureAppServiceManage@0
  displayName: 'Start NSBEndpointInWebJob'
  inputs:
    ConnectedServiceName: 'NSBEndpointInWebJob'
    Action: 'Start Azure App Service'
    WebAppName: NSBEndpointInWebJob
Now is a good time to save your work. Click on the down arrow next to the "Run button and then click Save.

Examining the YAML
There are specific pieces of YAML which should offer a tie-back to what we've learned so far in this series about WebJob conventions.
First, out of the trifecta of dot net Restore, Build and Publish that kicks off the pipeline, the Publish step shows the WebJob pathing convention
- task: DotNetCoreCLI@2
  displayName: Publish
  inputs:
    command: publish
    publishWebProjects: false
    projects: '**/NSBEndpointInWebJob.csproj'
    arguments: '--configuration $(BuildConfiguration) --output $(build.artifactstagingdirectory)\WebJob\App_Data\jobs\continuous\NSBEndpointInWebJob'
    zipAfterPublish: false
    modifyOutputPath: false
Note the --output directory for the Publish command is pointing to the WebJob path
\WebJob\App_Data\jobs\continuous\NSBEndpointInWebJob
Second, the Azure App Service Deploy step shows the \WebJob directory appended onto the packageForLinux input value.
- task: AzureRmWebAppDeployment@4
  displayName: 'Azure App Service Deploy: NSBEndpointInWebJob'
  inputs:
    ConnectedServiceName: 'NSBEndpointInWebJob'
    WebAppName: NSBEndpointInWebJob
    packageForLinux: '$(Build.ArtifactStagingDirectory)\WebJob'
    enableCustomDeployment: true
    ExcludeFilesFromAppDataFlag: false
The last bit of YAML is the ConnectedServiceName input. What is it and why do we need it? In order to run the YAML pipeline, Azure DevOps needs to be able to connect to Azure to deploy to your app service. It does this by using your Azure Subscription Id. Let's set that up now.
Add a New Service Connection
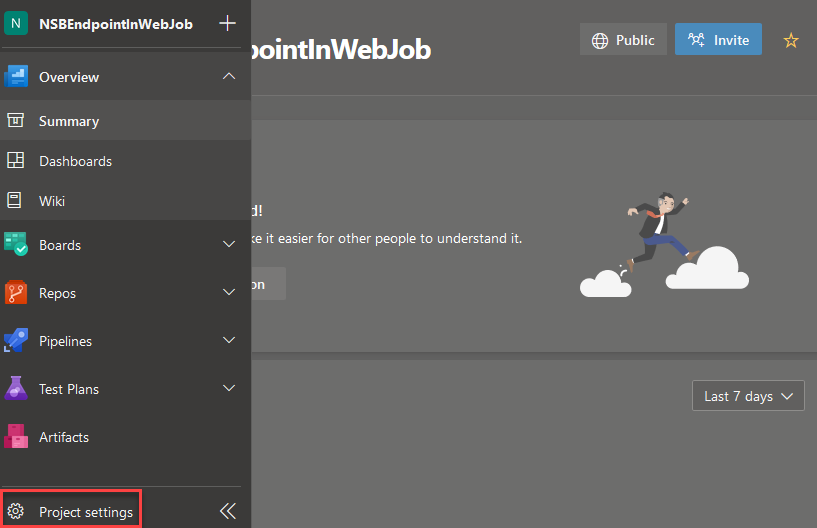
Return to the Project Summary page, then scroll to the bottom and click on Project Settings
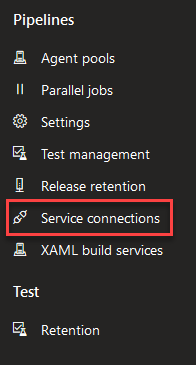
Click on Service connections under the Pipelines section
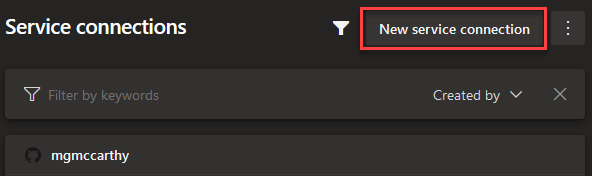
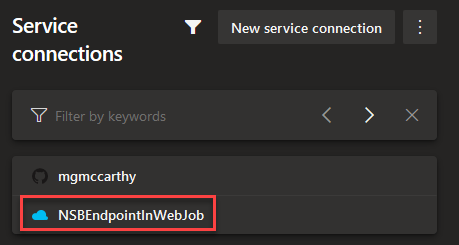
Here, you should see the service connection you added when you authorized Azure DevOps to access to your GitHub account to pull code in for the pipeline. Click on New service connection
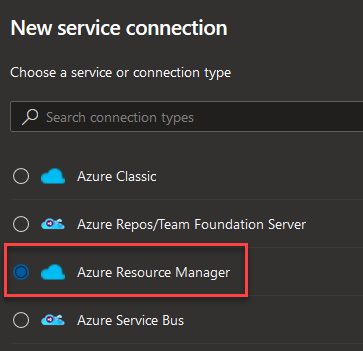
In the New service connection window, choose Azure Resource Manager as the connection type and click Next at the bottom of the screen
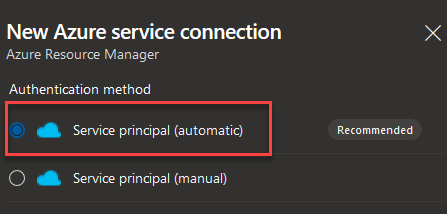
Next, pick the Service Principal (automatic) authentication method
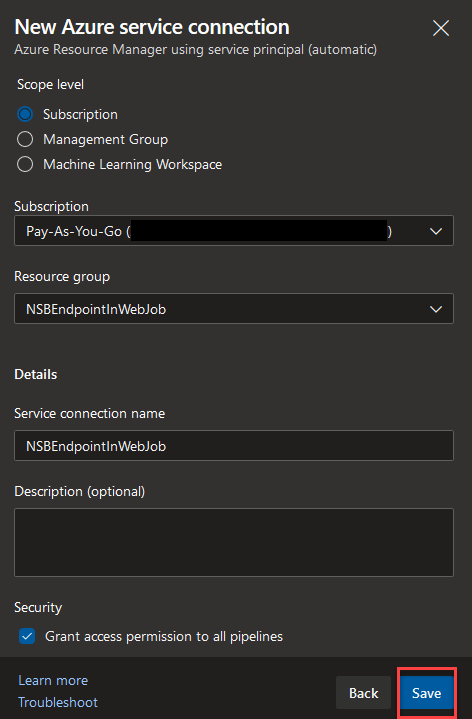
That will bring you to the New Azure service connection screen. Depending on which email/user you used to sign up for your Azure DevOps account, you should see a list of Azure subscriptions associated with that logon.
Keeping the default selection of Subscription for Scope Level, choose your subscription from the Subscription drop down.

Next, expand the Resource group drop down

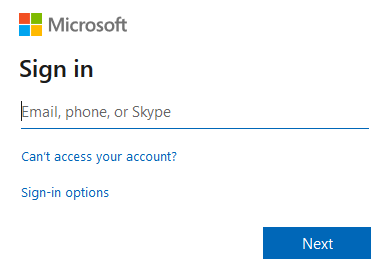
You'll be prompted to login into your Azure account
After logging in, you'll be brought back to the Service connection window. Expanding the Resource group drop down should show you all your resource groups associated with that Azure subscription
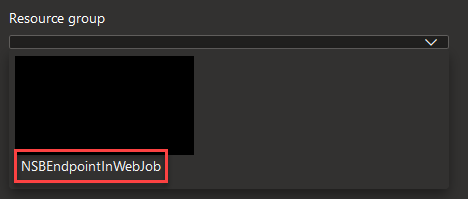
Pick the NSBEndpointInWebJob resource group and enter NSBEndpointInWebJob in the Service connection name field under Details and click Save
The window will close returning you to the Service connection page where you should see your newly added service connection.
With our new service connection in place, it's time to add the service connection name into the YAML pipeline.
Adding the Service Connection to the YAML
Three tasks in the YAML pipeline have a ConnectedServiceName input. These inputs need a valid service connection in order to stop, deploy and start the app service.
- task: AzureAppServiceManage@0
  displayName: 'Stop NSBEndpointInWebJob'
  inputs:
    ConnectedServiceName: 'NSBEndpointInWebJob'
    Action: 'Stop Azure App Service'
    WebAppName: NSBEndpointInWebJob

- task: AzureRmWebAppDeployment@4
  displayName: 'Azure App Service Deploy: NSBEndpointInWebJob'
  inputs:
    ConnectedServiceName: 'NSBEndpointInWebJob'
    WebAppName: NSBEndpointInWebJob
    packageForLinux: '$(Build.ArtifactStagingDirectory)\WebJob'
    enableCustomDeployment: true
    ExcludeFilesFromAppDataFlag: false

- task: AzureAppServiceManage@0
  displayName: 'Start NSBEndpointInWebJob'
  inputs:
    ConnectedServiceName: 'NSBEndpointInWebJob'
    Action: 'Start Azure App Service'
    WebAppName: NSBEndpointInWebJob
For each ConnectedServiceName input, enter NSBEndpointInWebJob as the value. This value will allow the pipeline to authenticate itself with Azure and allow it to manipulate the azure resources it needs to in order to complete each task.
Our Azure DevOps pipeline configuration is complete.
Start Azure Resources
Like we did in Part 3, we need to restore our Azure resources to a running state before we deploy. Run the following Azure CLI commands in Cloud Shell to restore the resources replacing NAME_OF_YOUR_APP_SERVICE with your unique app service name
az appservice plan update -n "NSBEndpointInWebJob" -g "NSBEndpointInWebJob" --sku B1 --only-show-errors
az webapp config set -g "NSBEndpointInWebJob" -n "NAME_OF_YOUR_APP_SERVICE" --always-on true
az webapp start -n "NAME_OF_YOUR_APP_SERVICE" -g "NSBEndpointInWebJob"
Run the Pipeline
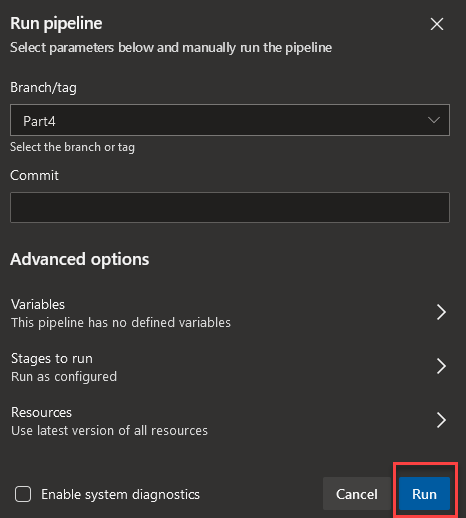
With our Azure DevOps pipeline configuration complete, it's time to build and deploy our NServiceBus endpoint. Click on the Run button in the upper right hand corner of the pipeline page.

Selecting the correct branch (I'm using the Part 4 branch from my GitHub repo as that branch contains the azure-pipelines.yaml file), click on the Run button on the Run pipeline window
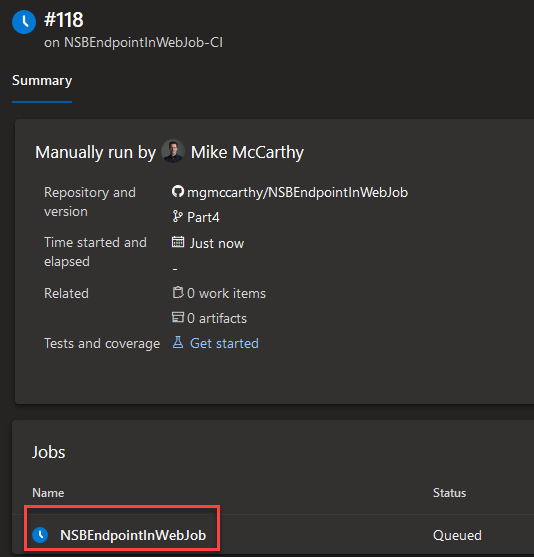
You'll be brought to a Jobs page where you can click on your Job name
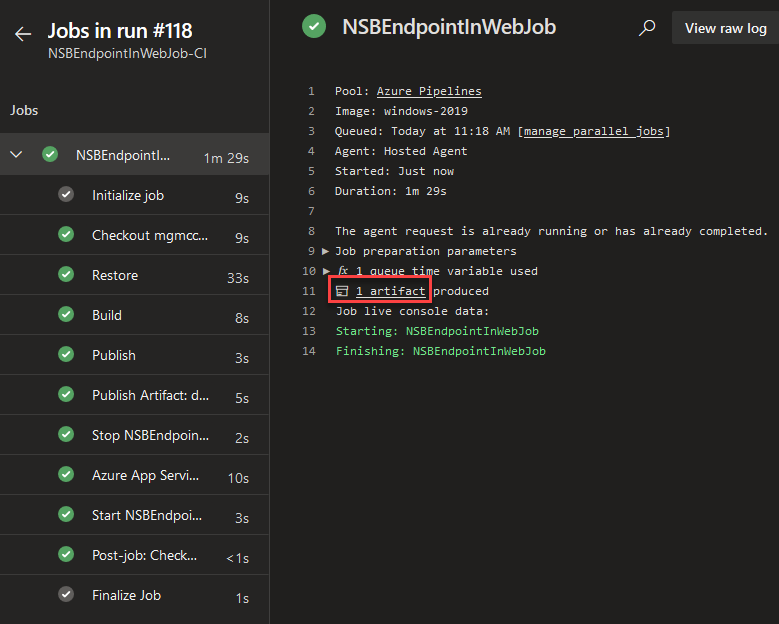
From here, you can watch Azure DevOps execute each task in your pipeline

When the pipeline is finished, your jobs page should look like this
Right-click on the 1 artifact produced link and choose "open in new tab". Expanding all the folders starting with the drop folder, your Artifacts page should look like this
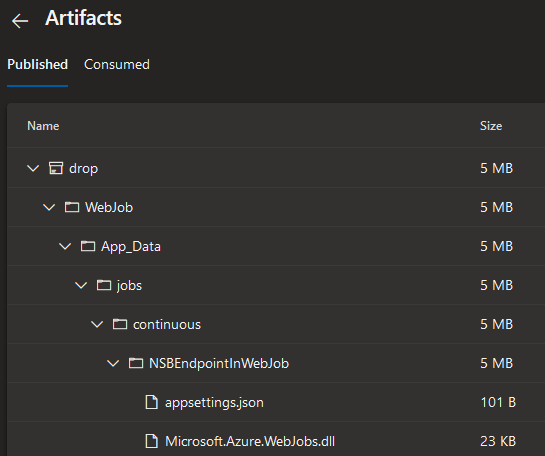
We can see the artifacts created by the build and deployment pipeline follow the WebJob path convention. These artifacts were deployed to the app service.
Check the App Service
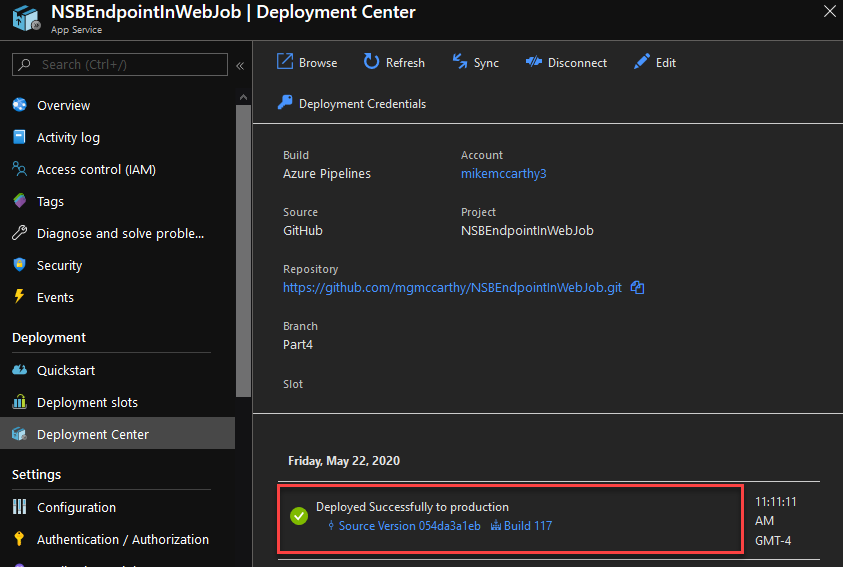
Returning to the Azure Portal, we can see the deployment to the app service by navigating to the app service and clicking on the Deployment Center menu item
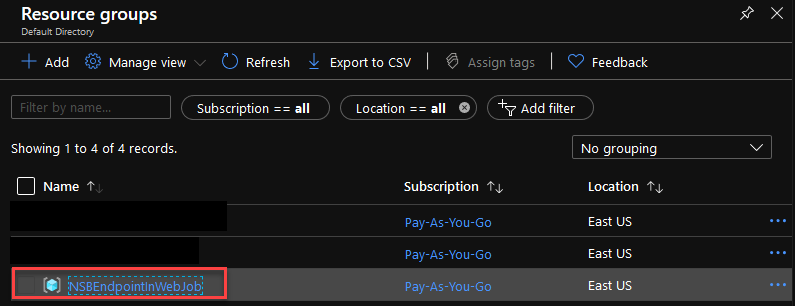
Next, let's check the endpoint is up and running. Navigate to your app service name from the NSBEndpointInWebJob resource group
Then click on your app service

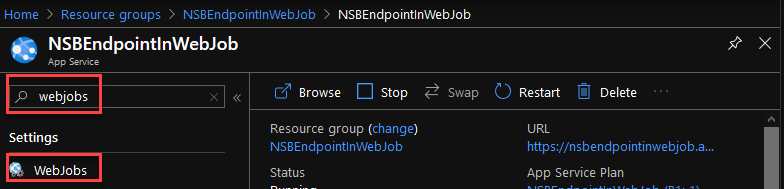
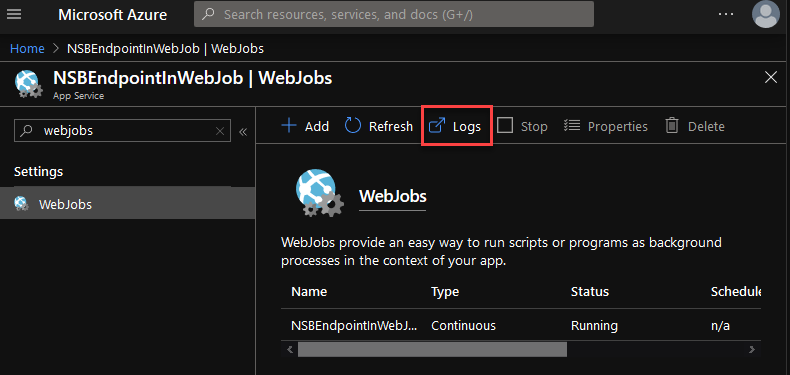
In the search field in the upper left-hand corner of the page, type "WebJobs" then click the WebJobs menu item
Next, click on the WebJob name, then click the Logs button at the top of the page.
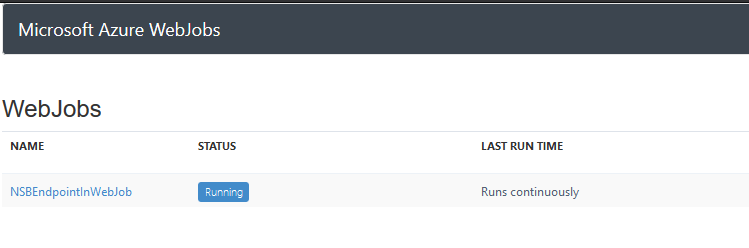
You should now see a WebJobs page with the name of your WebJob with a status of Running
Click on the WebJob name which will load the output to the console. You should see your "hello ..." log output
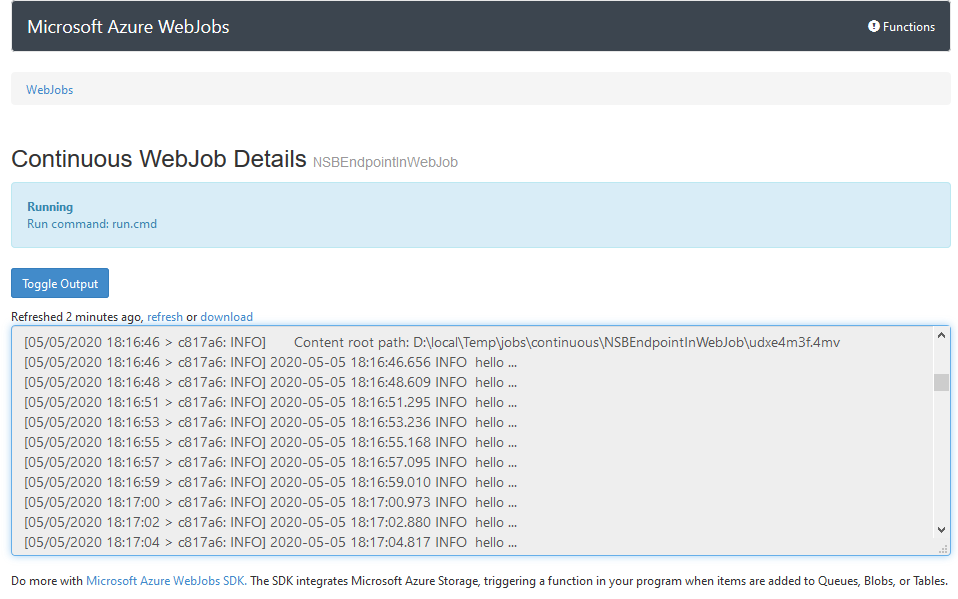
Success! We've deployed our NServiceBus endpoint to an Azure App Service using an Azure DevOps build and deployment pipeline.
Cleaning Up
Like the previous posts, we want to clean up our work so we don't get billed for resources we're not using. You have have two choices here.
- Shut down and cleanup resources like we did in previous posts
- Delete all resources
To shut down and cleanup resources, enter the following Azure CLI commands one after another in Cloud Shell replacing NAME_OF_YOUR_APP_SERVICE and NAME_OF_YOUR_STORAGE_ACCOUNT with your app service and storage account name.
az webapp config set -g "NSBEndpointInWebJob" -n "NAME_OF_YOUR_APP_SERVICE" --always-on false
az webapp stop -n "NAME_OF_YOUR_APP_SERVICE" -g "NSBEndpointInWebJob"
az appservice plan update -n "NSBEndpointInWebJob" -g "NSBEndpointInWebJob" --sku FREE --only-show-errors
az storage message clear -q "NAME_OF_YOUR_STORAGE_ACCOUNT-audit" --account-name "NAME_OF_YOUR_STORAGE_ACCOUNT" --only-show-errors
To delete all resources, run this Azure CLI command
WARNING: this command will delete not only the resource group, but all resources in that resource group. The
-yparameter bypasses the "are you sure" prompt, so double and triple check you have the correct resource group name before executing.
az group delete -n NSBEndpointInWebJob -y
In Closing
This is the end of a four-part blog series on Running NServiceBus Endpoints in Azure App Services. Throughout all four posts we:
- Learned how to run an NServiceBus endpoint in a WebJob that runs in the generic host
- Learned how to deploy the endpoint to an Azure app service using Visual Studio's "Publish" tooling
- Discovered some of the magic that Visual Studio was doing for us to deploy our NServiceBus endpoint into a WebJob in an app service
- Configured and executed the build and deployment of our NServiceBus endpoint using Azure DevOps YAML pipelines