

Originally published for Afterman Software
Posts in this Series:
- Part 1: Endpoint Implementation
- Part 2: Deploy with Visual Studio Publish
- Part 3: Pulling Back the Curtain on Visual Studio Publish (this post)
- Part 4: Build and Deploy with Azure DevOps
In Part 2, we used Visual Studio's Publish feature to deploy our NServiceBus endpoint to an Azure App Service, and after only one manual change in the Azure Portal, saw our endpoint successfully running by viewing the app service logs.
As easy and convenient as Visual Studio Publish is to use, there are two problems with it.
First, using Visual Studio publish feels a bit like this
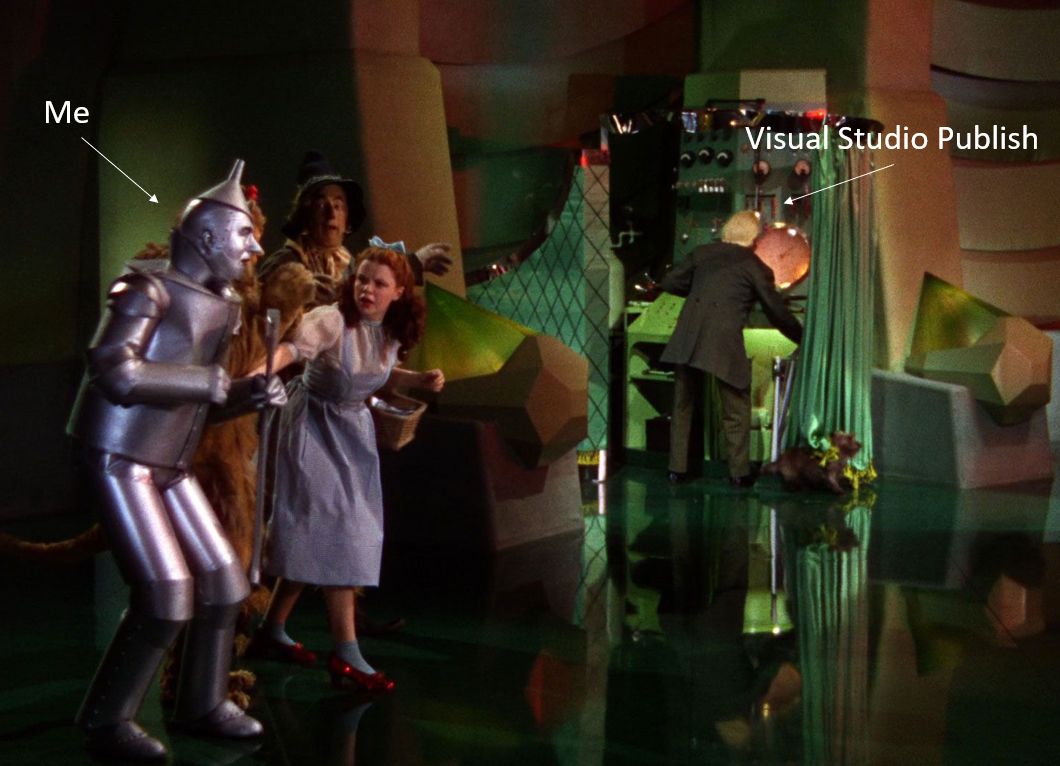
There is a lot going on "behind the curtain" that we're taking for granted which is allowing us to move very quickly (which is good), but with little to no knowledge of what's actually going on (which is bad).
Second, to graduate beyond demo-ware deployment, we need to understand what Visual Studio Publish is actually doing. Why? We'll need that knowledge to implement a more robust deployment solution like Azure DevOps because in most real-world projects
- There are more than two environments (your local machine and production)
- You don't deploy directly to production from your local machine
In this post, we'll be pulling back the curtain on Visual Studio Publish to examine what's happening in your local solution and in Azure.
Getting the Code
We won't be making any code changes in this post in the series, so I won't be providing a Part 3 branch on GitHub repo. Also, if you haven't completed the work in Part 2, where Visual Studio Publish provisions Azure resources, you won't be able to follow along with the end of this post.
If you've already completed Part 2, you can feel free to grab the code for Part 2 here.
Project Artifacts
Visual Studio publish added two artifacts to the project. Settings.job and a PublishProfiles folder with two files in it.
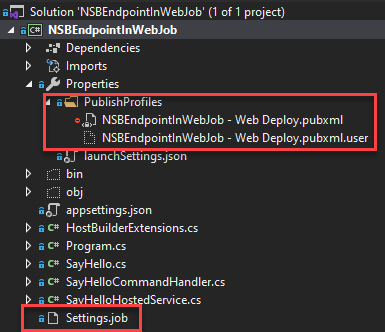
Settings.job
The Settings.job file has examples of CRON expressions that can be used for Triggered WebJobs.
{
  //    Examples:
  //    Runs every minute
  //    "schedule": "0 * * * * *"
  ...
}
Since our WebJob is Continuous, this file won't be used and you can ignore it.
Publish Profiles
The PublishProfiles folder contains two files, .pubxml and .pubxml.user. Let's look at NSBEndpointInWebJob - Web Deploy.pubxml first.
<?xml version="1.0" encoding="utf-8"?>
<Project ToolsVersion="4.0" xmlns="http://schemas.microsoft.com/developer/msbuild/2003">
  <PropertyGroup>
    <WebPublishMethod>MSDeploy</WebPublishMethod>
    <PublishProvider>AzureWebSite</PublishProvider>
    <LastUsedBuildConfiguration>Release</LastUsedBuildConfiguration>
    <LastUsedPlatform>Any CPU</LastUsedPlatform>
    <SiteUrlToLaunchAfterPublish>https://nsbendpointinwebjob.azurewebsites.net</SiteUrlToLaunchAfterPublish>
    <LaunchSiteAfterPublish>False</LaunchSiteAfterPublish>
    <ResourceId>/subscriptions/[AZURE_SUBSCRIPTION_IDENTIFIER]/resourcegroups/NSBEndpointInWebJob/providers/Microsoft.Web/sites/NSBEndpointInWebJob</ResourceId>
    <UserName>$NSBEndpointInWebJob</UserName>
    <_SavePWD>True</_SavePWD>
    <WebJobType>Continuous</WebJobType>
    <WebJobName>NSBEndpointInWebJob</WebJobName>
    <ExcludeApp_Data>False</ExcludeApp_Data>
    <MSDeployServiceURL>nsbendpointinwebjob.scm.azurewebsites.net:443</MSDeployServiceURL>
    <MSDeployPublishMethod>WMSVC</MSDeployPublishMethod>
    <SkipExtraFilesOnServer>True</SkipExtraFilesOnServer>
    <EnableMsDeployAppOffline>False</EnableMsDeployAppOffline>
    <EnableMSDeployBackup>True</EnableMSDeployBackup>
    <DeployIisAppPath>NSBEndpointInWebJob</DeployIisAppPath>
    <TargetFramework>netcoreapp3.1</TargetFramework>
    <SelfContained>false</SelfContained>
  </PropertyGroup>
</Project>
In this file, you'll see some of the settings we supplied when we initially published the project like <WebJobType> set to Continuous. The file also tells us Visual Studio is using MSDeploy (aka, Web Deploy) to deploy our project to Azure.
The <_SavePWD> setting is set to true, but where is it saved? In the NSBEndpointInWebJob - Web Deploy.pubxml.user file.
<?xml version="1.0" encoding="utf-8"?>
<Project ToolsVersion="4.0" xmlns="http://schemas.microsoft.com/developer/msbuild/2003">
  <PropertyGroup>
    <EncryptedPassword>[ENCRYPTED_PASSWORD]</EncryptedPassword>
  </PropertyGroup>
</Project>
The .pubxml file can be modified to customize the build and publish process after it's been created by Visual Studio. You can edit the file directly or still use the Publish editor in Visual Studio to change values in the file. You can also create multiple publishing profiles (for instance, one for each of your environments).
Also, you don't need Visual Studio to deploy your project to Azure. You can do that from the command line and pass it the publish profile.
Publish Profiles simplify the publishing and deployment process and can be used by different build and deployment models supported by .NET Core.
Because both publish files contain sensitive information, neither should be checked into source control.
Build Output
In Part 2, when we clicked the "Publish" button there was a lot of output generated in the Build Output window in Visual Studio. Some of the secrets to publishing a WebJob to an app service are in this output. The output is quite lengthy, so I'll be focusing on the most important parts of it that will show us what the Publish process is doing behind the scenes.
The "Magic Path" to WebJobs
This is the first hint that WebJobs cannot simply be deployed to the root path of the app service (like a web app can)
NSBEndpointInWebJob -> D:\Projects\NSBEndpointInWebJob\NSBEndpointInWebJob\obj\Release\netcoreapp3.1\PubTmp\Out\app_data\Jobs\Continuous\NSBEndpointInWebJob\
More specifically, this sub-section from the path above is the magic path to where WebJobs need to live in the app service
\app_data\Jobs\Continuous\NSBEndpointInWebJob\
If our WebJob was Triggered, the path would contain \Triggered instead of \Continous.
Next, the publish process adds each directory until it builds the full WebJob path
Adding directory (NSBEndpointInWebJob\app_data).
Adding directory (NSBEndpointInWebJob\app_data\Jobs).
Adding directory (NSBEndpointInWebJob\app_data\Jobs\Continuous).
Adding directory (NSBEndpointInWebJob\app_data\Jobs\Continuous\NSBEndpointInWebJob).
Then, each file required for deployment is added to that path
Adding file (NSBEndpointInWebJob\app_data\Jobs\Continuous\NSBEndpointInWebJob\appsettings.json).
...
Files that are usually deployed to the app service's root folder are instead deployed to the WebJob path. The path is a convention where WebJobs must live to be recognized by the app service so they can be discovered and then run.
But what actually invokes the WebJob? The answer is in this line of output
Adding file (NSBEndpointInWebJob\app_data\Jobs\Continuous\NSBEndpointInWebJob\run.cmd).
What is run.cmd?
No, not these guys

Run.cmd is a file that is auto-generated by Visual Studio Publish. It's a directive to the app service to start a command prompt and run something. But what is it running? It's running the binary output of our project which is the WebJob.
WebJobs use the kudu engine to run, and the kudu engine has conventions for the types of files it will scan for that are runnable scripts.
Without this file, the WebJob will have no way to be discovered or run. Visual Studio Publish is nice enough to generate it for us instead of relying on us to add a run.cmd file in our project.
Azure Artifacts
At the end of Part 2, we shut down our Azure resources so we would not get any nasty billing surprises. We used the Azure CLI in Cloud Shell to make that happen. In order to explore the Azure artifacts that were created when we deployed in Part 2, we need to start those resources again.
Restoring Azure Resources
Open Azure Portal and click on the Cloud Shell icon to start your PowerShell session

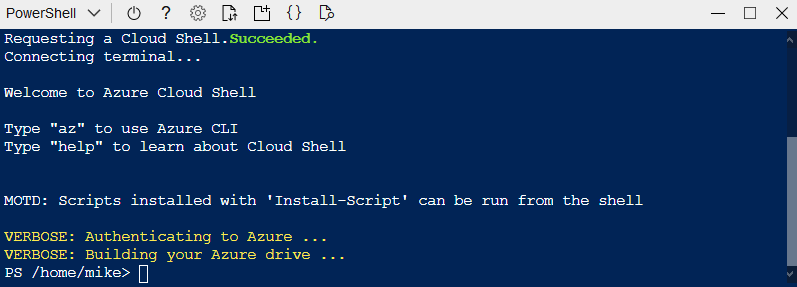
Once your Cloud Shell session is running, we'll restart the Azure resources
Change App Service Plan to B1
Before we turn our app service back on and set it to Always On, we first need to change the service plan to the B1 pricing tier.
Copy and paste the following PowerShell code into CloudShell and hit Enter
az appservice plan update -n "NSBEndpointInWebJob" -g "NSBEndpointInWebJob" --sku B1 --only-show-errors
Start App Service
Now that our service plan is running in a pricing tier that will allow us to run the app service in Always On, we can set the app service to Always On. Copy and paste the following PowerShell code into Cloud Shell replacing NAME_OF_YOUR_APP_SERVICE with your unique app service name.
az webapp config set -g "NSBEndpointInWebJob" -n "NAME_OF_YOUR_APP_SERVICE" --always-on true
and then start the app service
az webapp start -n "NAME_OF_YOUR_APP_SERVICE" -g "NSBEndpointInWebJob"
With our Azure resources up and running, you should be able to go the app service's WebJobs menu item in the Azure Portal, click on the WebJob menu item and then view the Logs to make sure the endpoint is running (you can refer to Part 2 of this series for the specifics).
Exploring Azure Artifacts
Besides the Azure resources that were provisioned by Visual Studio Publish (storage account, app service plan and app service) what was actually deployed to the app service? Let's take a look.
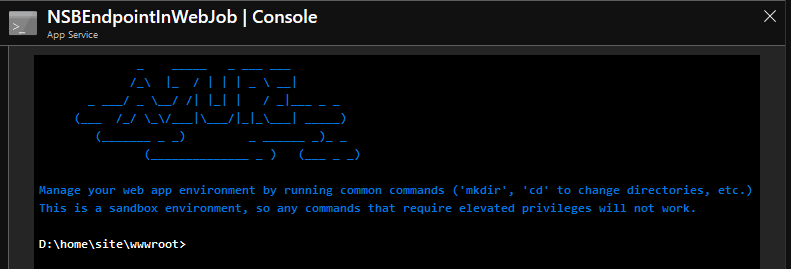
Open the Azure Portal and go to your app service. Type console in the search field and then click on the "Console" menu item

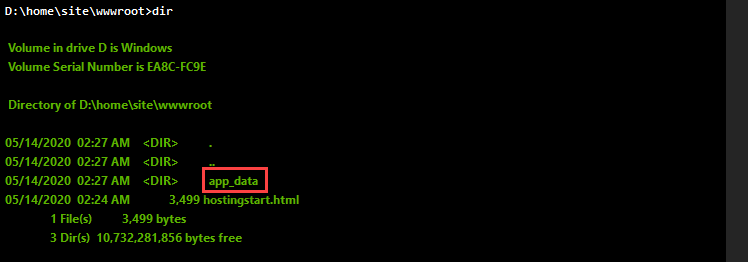
You'll see the app service Console open to the root directory of the app service
Type dir and you'll see the first folder in the WebJob path, app_data
Type in the following command and you'll be brought to the root directory of your WebJob
cd app_data\Jobs\Continuous\NSBEndpointInWebJob\
Then type dir and you should see a list of all deployed artifacts.
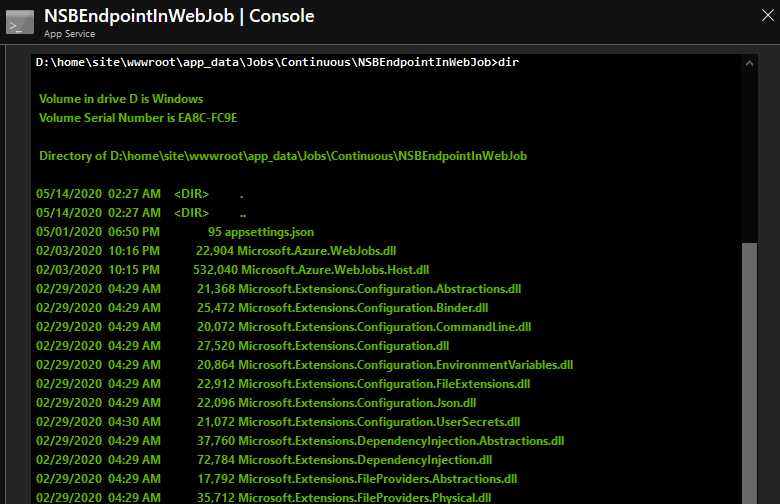
Scrolling through the list, you should see appsettings.json, Settings.job, run.cmd and the rest of the .dll's that were deployed with your project
Let's take a look at the contents of run.cmd. Type more run.cmd. You should see the following output

The contents of the file uses the dotnet command to run the compiled binary that is your WebJob, which hosts the NServiceBus endpoint.
Cleaning Up
Just like like last post, we want to shut down and clean up our Azure resources. But we're going to add a new step, which is deleting all the files and folders under the app_data directory in the web root to give us a "clean slate" to deploy our NServiceBus endpoint using Azure DevOps in Part 4.
Return to the Console of the app service and make sure the path is D:\home\site\wwwroot when you open it. Type the following command
rmdir /Q /S app_data
This command will delete the app_data folder and all folders and files in it. Basically, we're deleting our NServiceBus endpoint.
Next, let's shut down and clean up our Azure resources. Enter the following Azure CLI commands one after another in Cloud Shell replacing NAME_OF_YOUR_APP_SERVICE and NAME_OF_YOUR_STORAGE_ACCOUNT with your app service and storage account name.
az webapp config set -g "NSBEndpointInWebJob" -n "NAME_OF_YOUR_APP_SERVICE" --always-on false
az webapp stop -n "NAME_OF_YOUR_APP_SERVICE" -g "NSBEndpointInWebJob"
az appservice plan update -n "NSBEndpointInWebJob" -g "NSBEndpointInWebJob" --sku FREE --only-show-errors
az storage message clear -q "NAME_OF_YOUR_STORAGE_ACCOUNT-audit" --account-name "NAME_OF_YOUR_STORAGE_ACCOUNT" --only-show-errors
In Closing
In this post, we did a deep dive into the mechanics behind Visual Studio Publish. We learned about Publish Profiles, Web Deploy and the specific artifacts and conventions required in order to deploy a WebJob successfully to an Azure app service. We re-started our Azure resources and used the app service console to take a look at the generated folders and files created by Visual Studio Publish to host our NServiceBus endpoint.
In Part 4, the final part of this series, we'll be putting our newfound knowledge into action as we create a build and deployment pipeline for our project using Azure DevOps.